You've gotta try Filipino fried rice, or sinangag—it's a garlic-packed breakfast bonanza that'll make your kitchen smell heavenly! Just grab 2 cups of cold rice and sauté 5-10 cloves of minced garlic in hot oil until golden and crispy. Toss in the rice, stir it up, and season with salt and pepper. Cook until it's all toasty and divine. This dish is perfect with longanisa, tocino, or a yummy fried egg on top! It's not just breakfast; it's a cultural hug in a bowl, showcasing creativity and love. Stay tuned; there's more to love about this dish!
Main Points
- Sinangag, a Filipino garlic fried rice, enhances breakfast with its aromatic garlic flavor and crispy texture.
- The dish uses cold, cooked white rice, neutral oil, minced garlic, salt, and pepper for easy preparation.
- Cooking involves heating oil, sautéing garlic until golden, adding rice, and toasting until crispy for optimal flavor.
- Garnish with crispy garlic and optional chopped green onions for an added flavor and visual appeal.
- Sinangag symbolizes Filipino culinary tradition, showcasing creativity and minimizing food waste in the kitchen.
Recipe: Garlic-Infused Fried Rice
Filipino Fried Rice, or Sinangag, is truly a celebration of garlic and rice, making it a beloved part of many Filipino breakfasts. This dish transforms ordinary leftover rice into a flavorful companion for a variety of dishes, adding a delightful crunch and aroma that fills the kitchen. The key to perfecting this dish lies in the careful sautéing of garlic, which not only flavors the oil but also improves the overall taste of the rice.
The simplicity of Sinangag allows for versatility, making it an ideal dish for any meal of the day. When served alongside proteins like longanisa, tocino, or even just a perfectly fried egg, it becomes a fulfilling and hearty meal. This recipe balances the fragrant notes of garlic with the nutty flavor of slightly toasted rice, creating a comforting dish that's sure to please everyone at the table.
Ingredients
- 2 cups cold, cooked white rice
- 2 tablespoons neutral oil (such as canola, grapeseed, or corn oil)
- 5-10 cloves garlic, minced
- 1/2 teaspoon salt
- Pepper to taste
To cook the Garlic-Infused Fried Rice, start by heating a large wok or non-stick pan over medium heat. Add the neutral oil and minced garlic, allowing the garlic to cook slowly until it turns golden brown and crispy, which should take around 3-4 minutes.
Once cooked, carefully remove excess oil, leaving about 1 to 2 tablespoons in the pan. Next, add the cold, cooked rice, using a spatula to break apart any clumps. Stir the rice, ensuring it's well coated with the garlic-infused oil, and cook for about 4-5 minutes, stirring occasionally, until the rice is heated through and slightly toasted.
Season with salt and pepper to taste, mixing thoroughly before serving. For the best results, it's highly recommended to use day-old rice as it fortifies the texture and prevents the dish from becoming mushy. If you only have freshly cooked rice, spread it out on a baking sheet and allow it to cool in the refrigerator for a few hours.
Additionally, to improve the garlic flavor, consider sautéing some additional minced garlic at the end and sprinkling it on top of the fried rice as a garnish. Finally, feel free to customize your Sinangag by adding chopped green onions or other herbs for an extra burst of flavor.
Cooking Steps
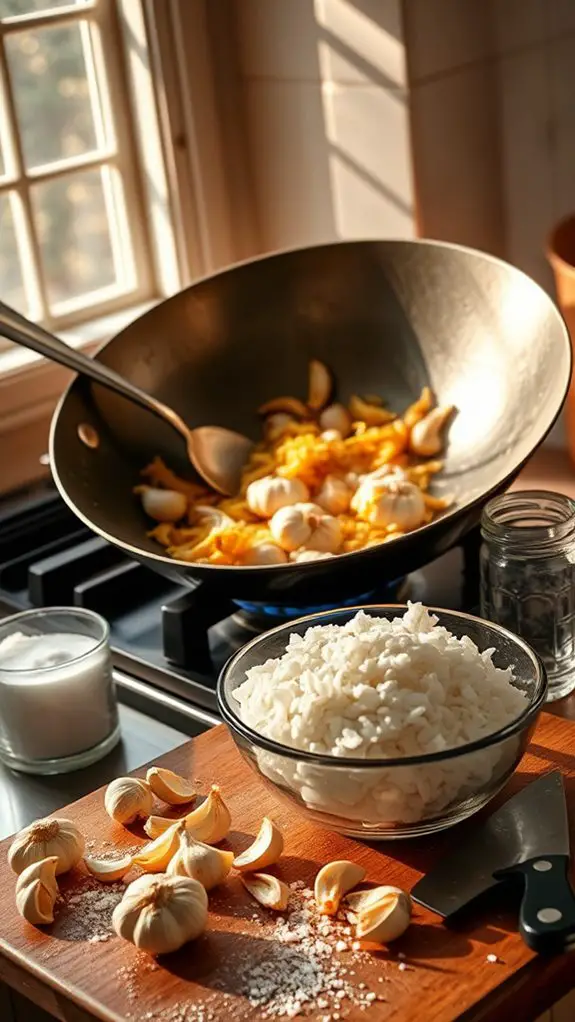
Alright, everyone, let's get cooking!
First, you'll want to heat some oil in your pan, and trust me, the sizzle is music to your ears.
Quickly toss in the minced garlic, then add that cold, leftover rice and stir it all together until it's golden and crispy—don't forget the heavenly crispy garlic garnish at the end to take it to the next level!
Step 1. Heat Oil in a Pan

To kick off your Sinangag, heat the oil in a large wok or non-stick pan over medium-high heat. You want to get that oil nice and hot, but not so hot that it starts smoking like a dragon! Once it's shimmering, you're ready for the next step, but don't rush just yet.
Using the right amount of oil is key because it'll help prevent your rice from sticking to the pan. Too little oil, and you'll end up with rice that's more like a cement block—yikes! If you notice the oil pooling in the pan, don't worry, you can adjust it later when you add your ingredients.
While you're waiting, imagine the delicious flavors that'll soon fill your kitchen. The aroma of garlic is on its way! For now, embrace this little pause and get ready for what's next.
Just keep an eye on that oil, and don't forget to grab your garlic so you can keep the cooking fun rolling. Your ultimate breakfast favorite is just a few steps away, and trust me, it'll be totally worth the wait!
Step 2. Add Minced Garlic Quickly
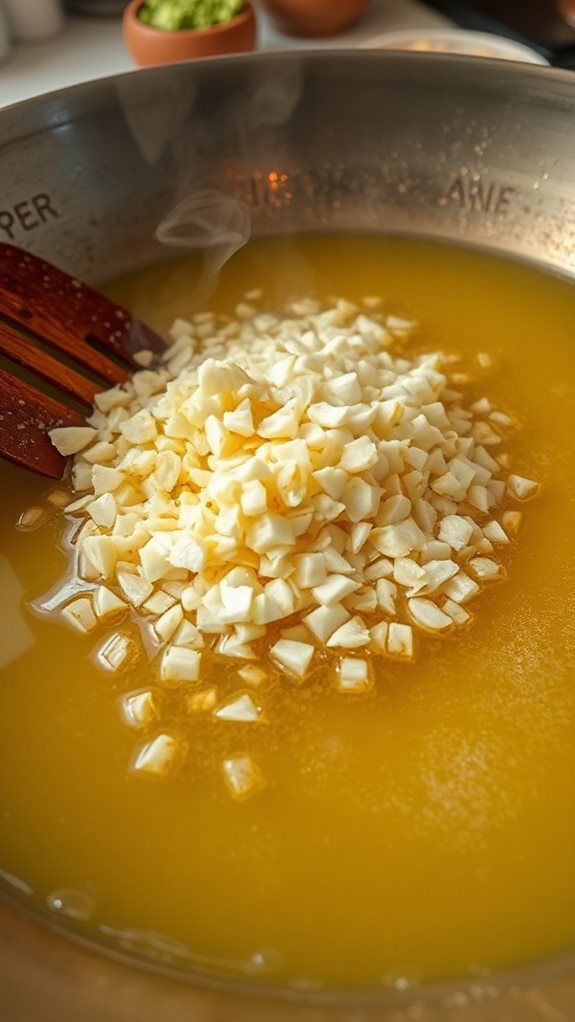
Now that your oil is hot and ready, quickly add the minced garlic to the pan. This is where the magic happens! The garlic will sizzle and release that delicious aroma. Make sure to stir it constantly to avoid burning. You want that golden-brown color and crispy texture, but not black—it's a fine line, so keep an eye on it!
Check out this handy guide for the perfect garlic cooking time:
| Garlic Stage | Cooking Time |
|---|---|
| Raw | 0 minutes |
| Slightly toasted | 1-2 minutes |
| Light golden brown | 3-4 minutes |
| Nice crispy bits | 5 minutes |
| Burnt garlic | 6+ minutes |
Once it's golden and crispy, you can remove some excess oil, but make sure to leave about 1 to 2 tablespoons for extra flavor. That garlic-infused oil is going to take your fried rice to the next level. Keep the energy up in the kitchen—you're almost there! Soon you'll be enjoying your flavorful Filipino fried rice!
Step 3. Add Cooked Rice and Stir
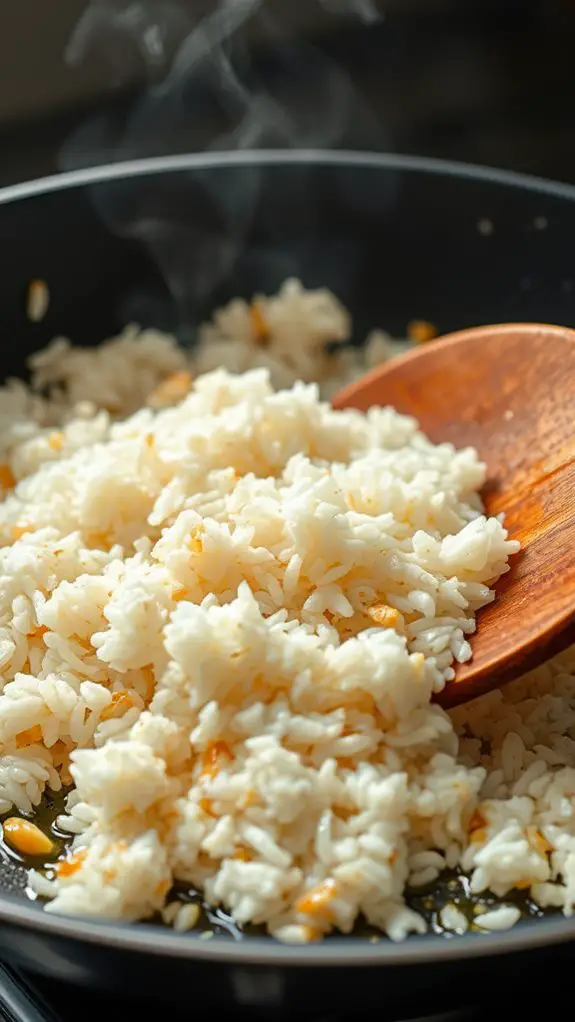
With the garlic perfectly golden and crispy, it's time to bring the cold, cooked rice into the mix. You'll want to add those luscious rice grains right into the pan. Get your spatula or wooden spoon ready, 'cause this is where the magic happens!
Gently break apart the clumps of rice and stir it all together, mixing in that fragrant garlic and oil. You'll see how the golden bits cling to the rice, transforming it from plain to simply irresistible.
Now, as you stir, let the rice warm up and soak in all that garlicky goodness—like a warm hug for your taste buds! Keep cooking for about 4 to 5 minutes, making sure to stir occasionally. You want that rice heated through and just slightly toasty.
Trust me, this little toasting step adds an incredible texture that you won't want to skip.
Oh, and don't forget to sprinkle some salt and pepper to taste. It may seem like a small step, but those seasonings really help bring everything together.
You're almost there—keep stirring and feel the excitement build as you create your very own Filipino fried rice!
Step 4. Toast Rice Until Golden
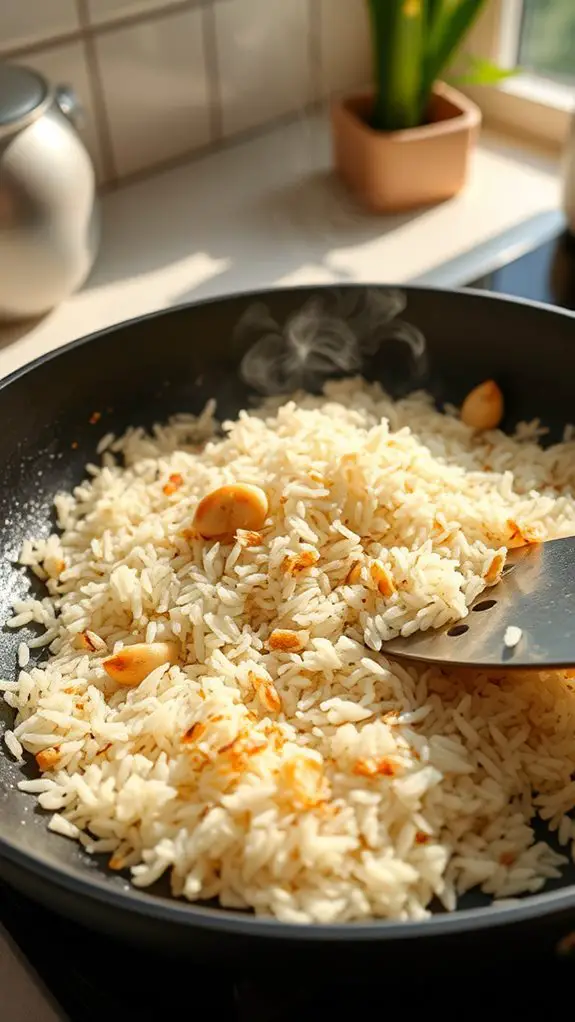
As the rice begins to heat through, you'll notice it starts to take on a golden hue—this is your cue to keep it moving! Picture that deliciously toasty aroma filling your kitchen. Grab your spatula and stir the rice around in the pan so it can toast evenly. You're not just heating it; you're giving it a touch of magic!
Keep an eye on it, though. You don't want it to sit too long in one spot, or it might end up sticking to the pan. Imagine the sound of that sizzling rice—it's like music to your ears!
After about 4 to 5 minutes, look for that beautiful golden color; it'll add both flavor and texture. If it seems like it's not quite there yet, don't panic! Just give it a couple more minutes.
This is your moment to shine in the kitchen. When it's ready, you'll have crispy bits mixed in with the soft grains. Isn't it satisfying to see how transforming plain old rice into something special is that easy? Enjoy the process and the delicious result you're creating!
Step 5. Garnish With Crispy Garlic
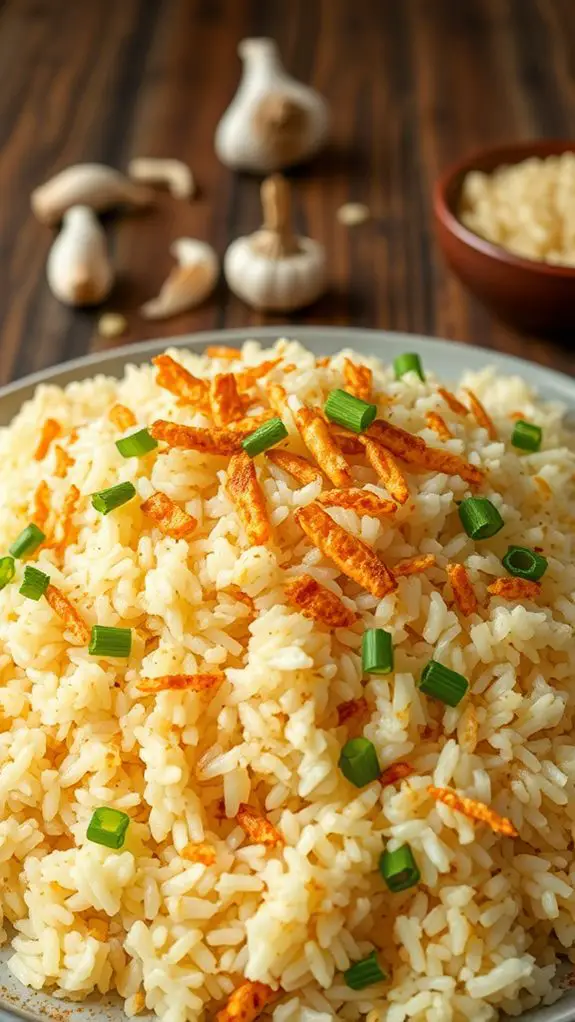
After achieving that perfect golden color on your fried rice, it's time to improve your dish by garnishing it with crispy garlic. Trust me, this step takes your meal from tasty to absolutely epic!
To make the crispy garlic, grab those minced garlic cloves you've been saving. In the same pan, keep a little bit of that fragrant oil from your fried rice. Turn the heat down to medium-low, and toss in the garlic. Stir it around, and keep an eye on it. You don't want burnt bits ruining your hard work, right?
As it cooks, you'll start to smell that incredible aroma—yum!
Once the garlic turns golden brown and gets crispy, use a slotted spoon to scoop it out and let it drain on some paper towels. This little step keeps it crunchy and super flavorful.
Now, sprinkle that delicious crispy garlic all over your fried rice, and if you want, add some chopped green onions too for a pop of color and extra flavor.
Now feast your eyes on your masterpiece! Garlic dreams really do come true with this simple topping. Dig in and enjoy every bite!
History
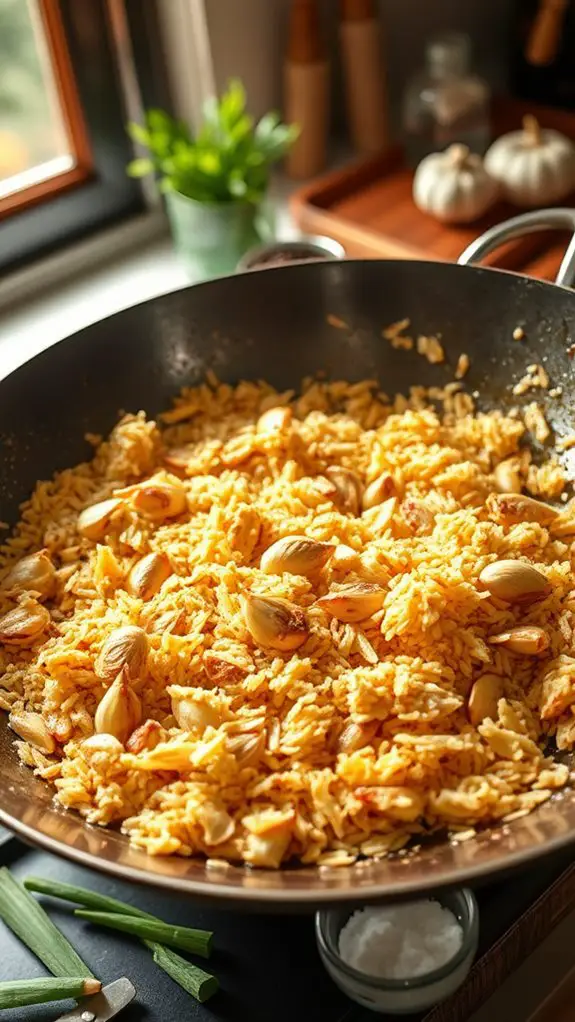
Throughout the years, Filipino Fried Rice, or Sinangag, has evolved from a practical solution for using leftover rice into a beloved breakfast staple in Filipino households.
Imagine this: after a big dinner, you've got some rice hanging around. What do you do? You turn it into Sinangag! This delicious dish started out as a way to avoid wasting food, and now it's a must-have at breakfast tables.
With just a few ingredients—rice, garlic, and maybe a dash of salt—you can whip up a tasty meal in minutes. Those aromatic cloves get to dance in hot oil, filling your kitchen with the mouthwatering scent of garlic.
Plus, it's super versatile! You can team it up with eggs, longanisa (a sweet sausage), or even leftover adobo.
As you savor each bite, you're not just enjoying a meal; you're also partaking in a rich cultural tradition. Sinangag is more than food; it's a symbol of creativity, resourcefulness, and love in every Filipino home.
And trust me, once you make it, you'll understand why it's captured so many hearts (and stomachs)!
Final Thoughts

Sinangag isn't just a tasty way to use leftover rice; it embodies a rich cultural legacy that's cherished in Filipino households. You might think, "It's just fried rice," but once you smell that garlic sizzling, you'll understand why it's such a beloved breakfast staple. This dish is like a warm hug on a plate, bringing together family and friends over hearty meals.
Imagine waking up to the aroma of garlic wafting through your home—that's the magic of Sinangag. It's super versatile too! You can pair it with all kinds of proteins and dishes, from sweet longanisa to savory adobo.
But let's be honest, can anything beat that crispy fried egg on top? You'll be surprised how something so simple can make you feel like a gourmet chef in your kitchen.
Conclusion
So, now you've got the scoop on making your very own Filipino Fried Rice, or Sinangag! It's super easy, right? Just toss in some garlic, mix in that day-old rice, and you're on your way to a breakfast that'll knock your socks off! Pair it with eggs and your fave protein, and you've got a meal that's not just tasty but also a cool piece of Filipino culture. Don't forget to share the yumminess with your friends!
