When you're in the kitchen, the right recipe can transform a meal from ordinary to extraordinary. You might be curious about the top five that consistently impress, whether it's a vibrant appetizer like Classic Bruschetta or a comforting main dish such as Creamy Garlic Pasta. Each recipe offers a unique flair, catering to both simple tastes and adventurous palates. As you consider what to cook next, you'll want to uncover which of these standout options fits your next occasion perfectly. The details behind these recipes might just surprise you.
Classic Bruschetta

Classic bruschetta is a delightful Italian appetizer that combines fresh ingredients to create a burst of flavors. This dish features toasted bread topped with a mixture of ripe tomatoes, fragrant basil, and a drizzle of olive oil, making it a perfect starter for any gathering or a light snack for yourself.
The simplicity of the ingredients allows each component to shine, offering a taste of summer in every bite.
Ingredients:
- 1 baguette or Italian loaf
- 4-5 ripe tomatoes, diced
- 1-2 cloves garlic, minced
- 1/4 cup fresh basil, chopped
- 2 tablespoons extra virgin olive oil
- Salt, to taste
- Pepper, to taste
- Balsamic vinegar (optional)
Instructions:
Start by preheating your oven to 400°F (200°C). Slice the baguette or Italian loaf into 1/2-inch thick slices and arrange them on a baking sheet.
Toast the bread in the oven for about 5-7 minutes, or until it's golden brown and crispy. In the meantime, combine the diced tomatoes, minced garlic, chopped basil, olive oil, salt, and pepper in a mixing bowl.
Once the bread is toasted, let it cool slightly, then spoon the tomato mixture generously on top of each slice. If desired, drizzle with balsamic vinegar for extra flavor before serving.
Extra Tips:
To improve the flavor of your bruschetta, use the ripest tomatoes you can find, as they'll provide a sweeter taste.
If you have time, allow the tomato mixture to marinate for about 15-20 minutes before serving; this will help the flavors meld together beautifully.
Feel free to experiment with additional toppings, such as fresh mozzarella or a sprinkle of grated Parmesan cheese, for a unique twist on this classic dish.
Creamy Garlic Pasta

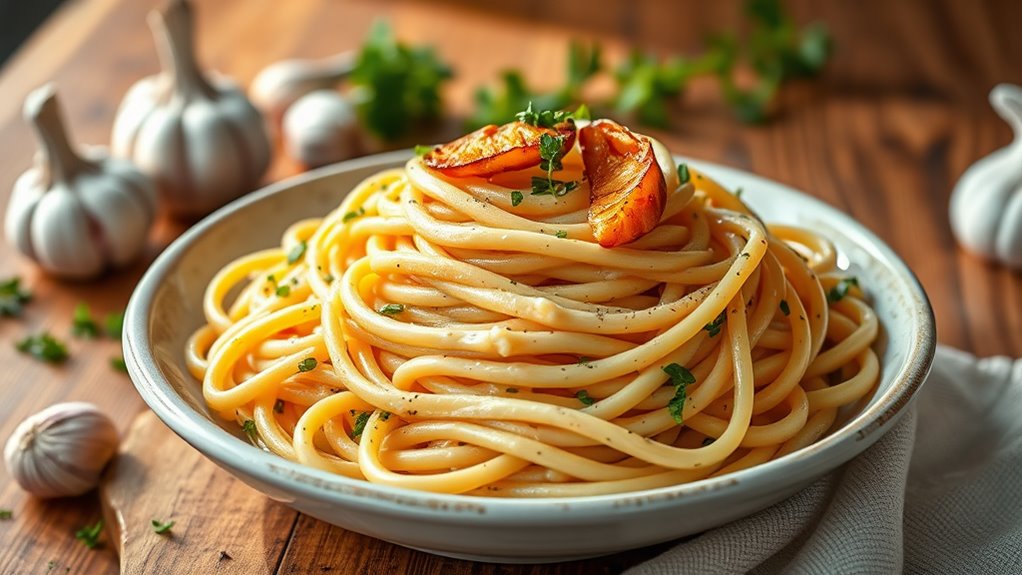
Creamy Garlic Pasta is a delightful dish that combines the richness of cream with the robust flavor of garlic, creating a comforting meal that's perfect for any occasion. This pasta dish is both easy to prepare and incredibly satisfying, making it an ideal choice for weeknight dinners or special gatherings.
With just a few simple ingredients, you can whip up a creamy, garlicky sauce that clings beautifully to your favorite pasta, elevating it to a whole new level of deliciousness.
Ingredients:
- 8 oz fettuccine or spaghetti
- 4 cloves garlic, minced
- 1 cup heavy cream
- 1 cup grated Parmesan cheese
- 2 tablespoons olive oil
- 2 tablespoons unsalted butter
- Salt and pepper to taste
- Fresh parsley, chopped (for garnish)
Instructions:
Start by cooking the pasta according to the package instructions until al dente.
While the pasta is cooking, heat the olive oil and butter in a large skillet over medium heat. Once melted, add the minced garlic and sauté for about 1-2 minutes until fragrant but not browned.
Pour in the heavy cream and bring to a gentle simmer, then stir in the Parmesan cheese until melted and smooth. Season with salt and pepper to taste.
Once the pasta is cooked, drain it and add it to the skillet, tossing to coat it thoroughly in the creamy garlic sauce. Allow it to cook for an additional minute, letting the flavors meld together before serving.
Extra Tips:
For an extra kick of flavor, consider adding a pinch of red pepper flakes to the garlic as it cooks.
You can also substitute half of the heavy cream with chicken or vegetable broth for a lighter version of the sauce. Fresh herbs like basil or thyme can be added for a fresh touch, and feel free to include sautéed vegetables or grilled chicken for added protein.
To guarantee a smooth sauce, make sure to stir continuously while adding the cheese, and serve the pasta immediately for the best texture and flavor.
Spicy Chicken Tacos

Spicy Chicken Tacos are a delightful way to bring a burst of flavor to your dinner table. These tacos aren't only easy to prepare but also offer a satisfying kick that will please anyone who enjoys a bit of heat.
With tender, marinated chicken, fresh toppings, and warm tortillas, these tacos make for a perfect weeknight meal or a fun gathering with friends. Let's immerse ourselves in the ingredients and cooking instructions to create these mouthwatering tacos!
Ingredients:
- 1 lb boneless, skinless chicken thighs
- 2 tablespoons olive oil
- 2 tablespoons taco seasoning
- 1 teaspoon cayenne pepper (adjust to taste)
- 1 lime, juiced
- Salt and pepper to taste
- 8 small corn or flour tortillas
- 1 cup shredded lettuce
- 1 cup diced tomatoes
- 1/2 cup diced onions
- 1/2 cup shredded cheese (cheddar or Mexican blend)
- Fresh cilantro for garnish
- Sour cream or salsa for serving (optional)
For cooking instructions, start by cutting the chicken thighs into bite-sized pieces and marinating them in a mixture of olive oil, taco seasoning, cayenne pepper, lime juice, salt, and pepper for at least 30 minutes (or up to overnight for more flavor).
Heat a large skillet over medium-high heat and add the marinated chicken. Cook for about 7-10 minutes, stirring occasionally, until the chicken is cooked through and has a nice char.
While the chicken is cooking, warm the tortillas in a separate pan or microwave. Once the chicken is ready, assemble the tacos by placing a generous portion of chicken on each tortilla and topping with shredded lettuce, diced tomatoes, onions, cheese, and cilantro.
Serve with sour cream or salsa if desired.
When preparing Spicy Chicken Tacos, feel free to customize the toppings to suit your taste. Avocado slices, jalapeños, or even a drizzle of hot sauce can enhance the dish further.
If you prefer a milder flavor, reduce the cayenne pepper or opt for a milder taco seasoning. Additionally, you can prepare a side of Mexican rice or beans to complement your meal.
Enjoy your cooking and the delicious results!
Decadent Chocolate Cake

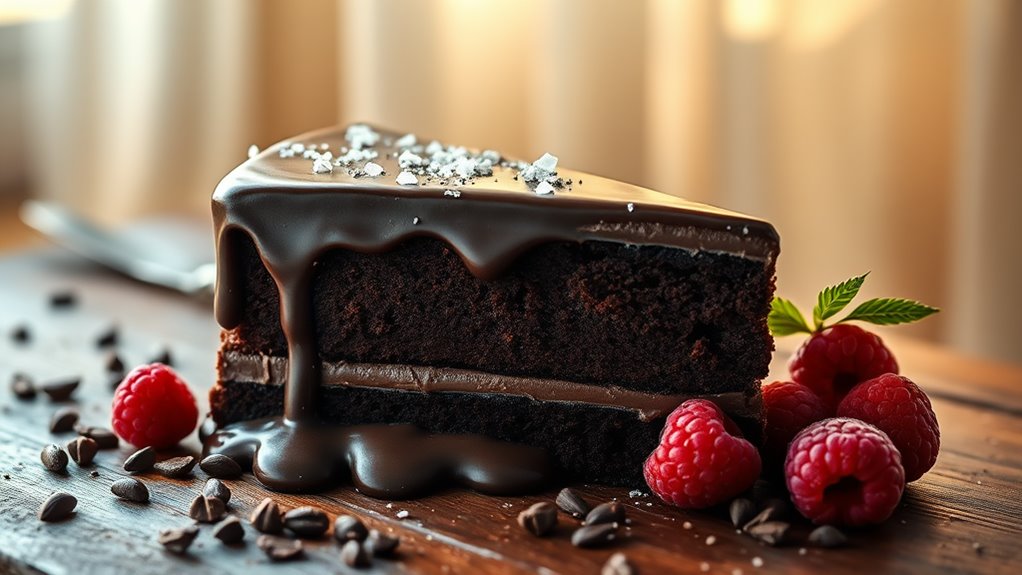
Indulging in a decadent chocolate cake is a delightful experience that can raise any occasion. This rich, moist cake is made with high-quality cocoa powder and dark chocolate, guaranteeing a deep chocolate flavor that will satisfy any sweet tooth.
Perfect for birthdays, anniversaries, or just a treat for yourself, this cake is sure to impress with its luxurious texture and taste.
Ingredients:
- 1 ¾ cups all-purpose flour
- 1 ¾ cups granulated sugar
- ¾ cup unsweetened cocoa powder
- 1 ½ teaspoons baking powder
- 1 ½ teaspoons baking soda
- 1 teaspoon salt
- 2 large eggs
- 1 cup whole milk
- ½ cup vegetable oil
- 2 teaspoons pure vanilla extract
- 1 cup boiling water
- 1 cup semi-sweet chocolate chips
Instructions:
Preheat your oven to 350°F (175°C) and grease two 9-inch round cake pans.
In a large mixing bowl, combine the flour, sugar, cocoa powder, baking powder, baking soda, and salt. Mix well until combined.
Add in the eggs, milk, vegetable oil, and vanilla extract, and mix on medium speed for about 2 minutes.
Carefully stir in the boiling water and chocolate chips until everything is well incorporated.
Pour the batter evenly into the prepared pans and bake for 30-35 minutes, or until a toothpick inserted in the center comes out clean.
Once baked, let the cakes cool in the pans for 10 minutes before transferring them to a wire rack to cool completely.
Extra Tips:
For an extra touch of decadence, consider adding a rich chocolate ganache or buttercream frosting between the layers and on top of the cake.
To make sure your cake stays moist, avoid overbaking and check for doneness a few minutes before the suggested baking time.
Additionally, letting the cake sit for a day before serving can improve the flavor and texture, making it even more delicious.
If you want to raise the presentation, top the cake with fresh berries or chocolate shavings.
Enjoy your baking!
Refreshing Fruit Salad

Revitalizing Fruit Salad is a delightful and vibrant dish that combines an array of fresh fruits, making it the perfect side or dessert for any meal. This salad isn't only visually appealing but also packed with vitamins and minerals, perfect for a hot day or as a light snack.
The best part is how easily it can be customized to include your favorite fruits or whatever is in season.
Ingredients:
- 1 cup strawberries, hulled and sliced
- 1 cup blueberries
- 1 cup pineapple, diced
- 1 cup kiwi, peeled and sliced
- 1 cup watermelon, diced
- 1 tablespoon honey (optional)
- 1 tablespoon fresh mint leaves, chopped (for garnish)
- Juice of 1 lime
Instructions:
In a large mixing bowl, combine all the prepared fruits: strawberries, blueberries, pineapple, kiwi, and watermelon.
Gently toss the fruits together to guarantee they're evenly mixed. In a small bowl, whisk together the honey (if using) and lime juice, then drizzle this dressing over the fruit mixture.
Toss everything lightly to coat the fruits with the dressing, being careful not to mash them. Allow the salad to sit for about 10 minutes to let the flavors meld before serving.
Garnish with chopped mint leaves for an extra touch of revitalization.
Extra Tips:
To improve the flavor of your Revitalizing Fruit Salad, consider adding a splash of orange juice or a sprinkle of cinnamon for a unique twist.
Feel free to substitute or add any seasonal fruits such as peaches, grapes, or apples based on your preference.
For a more indulgent treat, a dollop of yogurt or whipped cream on top can make it even more delicious.
Always serve the salad chilled for the best taste and rejuvenation!
