If you're looking to enhance your baking, understanding the nuances of sourdough starter recipes is essential. You might find yourself drawn to the classic version, but there are several variations that cater to different tastes and dietary needs. Each recipe has its own unique benefits, whether you want a robust flavor or a gluten-free option. As you investigate these five standout recipes, you'll discover how each starter can transform your bread-making experience in unexpected ways. What's the best choice for your next loaf?
Classic Sourdough Starter Recipe

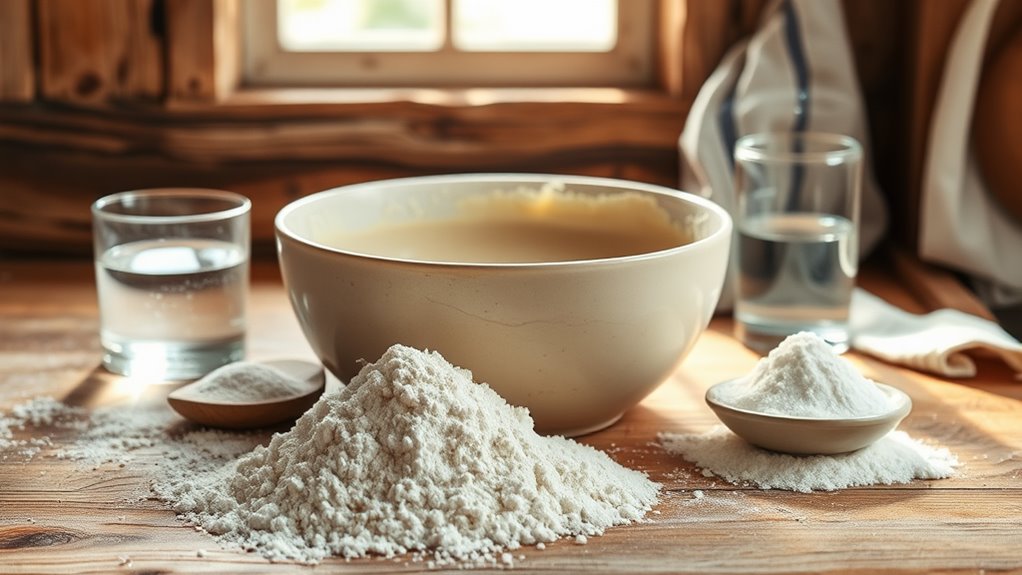
Creating a classic sourdough starter is the first step towards baking your own sourdough bread. This simple mixture of flour and water becomes a living culture that captures wild yeast and bacteria from the environment, allowing you to create deliciously tangy bread with a unique flavor.
It's a rewarding process that requires some patience, but with regular feeding and care, your starter will thrive, enabling you to bake fresh sourdough loaves whenever you like.
Ingredients:
- 1 cup all-purpose flour (or whole wheat flour)
- 1/2 cup water (preferably filtered or distilled, at room temperature)
- A clean glass or plastic container with a lid
Instructions:
In a clean container, combine the flour and water, stirring until there are no dry clumps. The mixture should have a thick, paste-like consistency.
Cover the container loosely with a lid or a cloth to allow air to circulate while preventing debris from entering. Place the container in a warm spot, ideally between 70°F to 75°F (21°C to 24°C), and let it sit for 24 hours.
After the first day, discard half of the mixture and feed it with another 1 cup of flour and 1/2 cup of water. Repeat this feeding process every 24 hours for about 5 to 7 days, until you see bubbles forming and the mixture doubles in size within a few hours after feeding.
Extra Tips:
Keep in mind that the temperature of your environment can greatly affect the fermentation process. If your home is particularly cold, it may take longer for your starter to become active.
On the other hand, if it's warm, the starter may ferment more quickly, so you might need to adjust your feeding schedule accordingly. Additionally, using whole wheat flour for the initial feed can help jumpstart the fermentation process due to its higher nutrient content.
Once your starter is bubbly and has a pleasant, slightly tangy smell, you can start using it in your sourdough recipes!
Whole Wheat Sourdough Starter

Creating a whole wheat sourdough starter is a rewarding and straightforward process that allows you to harness the natural fermentation of wild yeast and bacteria. This starter can be used as the foundation for delicious sourdough bread, pancakes, and other baked goods. The whole wheat flour adds a deeper flavor and improves the nutritional profile of your starter, making it a wholesome choice for home bakers.
Ingredients:
- 1 cup whole wheat flour
- 1 cup water (filtered or bottled)
- 1 tablespoon honey or sugar (optional)
Instructions:
In a clean glass jar, combine 1 cup of whole wheat flour with 1 cup of water. If you prefer a sweeter starter, you can add 1 tablespoon of honey or sugar at this stage.
Stir the mixture until there are no dry lumps, cover the jar loosely with a lid or a cloth, and let it sit at room temperature (ideally around 70°F to 75°F) for 24 hours.
After the first day, you should see some bubbles forming, indicating fermentation. Each day for the next five to seven days, feed the starter by discarding half of the mixture and adding another cup of whole wheat flour and one cup of water.
Continue this process until your starter is bubbly and has doubled in size within 4 to 6 hours of feeding.
Extra Tips:
To guarantee the best results, use filtered or bottled water to avoid chlorine, which can inhibit the growth of wild yeast.
It's also essential to keep your starter in a warm area, as temperature plays a crucial role in fermentation.
If you're not planning to bake right away, you can store your starter in the refrigerator and feed it once a week.
Before using it for baking, remember to bring it back to room temperature and feed it at least once to revive its activity.
Rye Flour Sourdough Starter

Creating a rye flour sourdough starter is a rewarding process that will enhance your baking game. Rye flour is rich in nutrients and has a higher enzyme activity than all-purpose flour, making it an excellent choice for cultivating wild yeast and bacteria. This starter won't only be ready for baking delicious sourdough bread but also add a unique flavor profile to your baked goods. With just a few simple ingredients and some patience, you'll be on your way to crafting your very own rye sourdough starter.
Ingredients:
- 100g rye flour
- 100g water (room temperature)
- A clean glass jar or container with a loose-fitting lid
Instructions:
In a clean glass jar, combine 100 grams of rye flour with 100 grams of room temperature water. Mix well until there are no dry bits of flour remaining, and the mixture is smooth.
Cover the jar loosely with a lid or cloth to allow airflow while preventing contaminants from entering. Place the jar in a warm, draft-free area (ideally around 70°F to 75°F or 21°C to 24°C) for 24 hours.
After the first day, you should see some bubbles forming, indicating that fermentation is starting. For the next 5 to 7 days, feed your starter daily by discarding half of the mixture and adding another 100 grams of water and 100 grams of rye flour, mixing thoroughly each time.
The starter is ready to use when it has doubled in size and has a pleasant, slightly sour aroma.
Extra Tips:
It's important to maintain a consistent feeding schedule and keep the starter in a warm environment for ideal fermentation.
If you notice any off smells or discoloration, discard the starter and start over to guarantee safety.
Remember that the hydration level can affect the starter's performance; you can adjust the water slightly for your desired consistency.
Also, you can switch to all-purpose flour after you have an active rye starter to create a different flavor profile for your breads.
Finally, always keep a portion of your starter reserved in the fridge for future use, and feed it weekly to keep it alive.
Gluten-Free Sourdough Starter

Creating a gluten-free sourdough starter is a fantastic way to enjoy the tangy flavor and texture of sourdough bread while adhering to a gluten-free diet. This starter is made from gluten-free flours, such as brown rice flour or buckwheat flour, and requires minimal ingredients and patience.
With a bit of time and care, you'll nurture a lively culture that you can use in your baking adventures.
Ingredients:
- 1 cup brown rice flour (or another gluten-free flour)
- 1 cup water (filtered or distilled)
- 1 tablespoon honey or maple syrup (optional)
- 1/4 cup active gluten-free sourdough starter (if available)
Cooking Instructions:
In a glass or plastic bowl, combine the brown rice flour and water, mixing until smooth. If you have an active gluten-free sourdough starter, add it to the mixture for a jumpstart on fermentation.
Cover the bowl loosely with a clean cloth or plastic wrap to allow airflow while keeping contaminants out. Let the mixture sit at room temperature (ideally around 70-75°F) for 24 hours.
After the first day, you'll begin to see bubbles forming, indicating fermentation. Each day for the next 5-7 days, feed your starter by discarding half of the mixture and adding 1/2 cup of gluten-free flour and 1/2 cup of water. Stir well and let it sit again at room temperature.
Extra Tips:
Keep your starter in a warm, draft-free area to encourage fermentation; excessive cold can slow this process.
If you notice a layer of liquid forming on top, it's called "hooch," which is normal and can be mixed back in or poured off.
Be patient, as gluten-free starters often take a bit longer to become fully active compared to traditional wheat starters.
Once bubbly and doubling in size within a few hours of feeding, your gluten-free sourdough starter is ready to use in your favorite recipes!
Quick Sourdough Starter Method

Making a quick sourdough starter is a fantastic way to jumpstart your bread-baking journey without the lengthy wait associated with traditional methods. This method utilizes the natural fermentation process but accelerates it by using a bit of yeast and warm water to create an active culture in just a few days.
By following this simple recipe, you'll be able to create a bubbly, tangy starter that can enhance your baking and give your breads that distinctive sourdough flavor.
Ingredients:
- 1 cup all-purpose flour
- 1 cup warm water (around 100°F or 38°C)
- 1 teaspoon active dry yeast
- 1 tablespoon sugar
Instructions:
In a large mixing bowl, combine the warm water, active dry yeast, and sugar, stirring gently until the yeast dissolves.
Allow this mixture to sit for about 10 minutes, or until it becomes frothy. Once frothy, add the flour into the bowl and mix until you have a smooth batter.
Cover the bowl with a clean kitchen towel or plastic wrap and let it sit in a warm, draft-free area for 24 hours. After this time, you should see bubbles forming, indicating that fermentation is occurring.
Feed the starter daily with equal parts flour and water (1/2 cup each) for the next 2-3 days, and your starter will be ready to use once it doubles in size and has a pleasant tangy aroma.
Extra Tips:
To guarantee your starter thrives, keep it in a warm spot, ideally between 70°F and 75°F (21°C to 24°C).
If your kitchen is cooler, you can place it in the oven with just the light on or near a warm appliance.
Always use filtered or bottled water if your tap water is heavily chlorinated, as this can inhibit yeast growth.
Remember to save a portion of your starter and continue the feeding process if you want to keep it alive for future baking adventures!